Google Analytics 4 is a free and powerful platform that provides statistics and analytical tools. You can integrate your landing page with Google Analytics 4 via gtag.js (Google tag) installed as a custom JavaScript. This guide will show you how to integrate your landing page via a tracking code to track key events, previously named conversions (form submissions).
TIP: You can integrate with Google Analytics 4 via EventTracker and have landing page events automatically sent to the Reports tab in GA4.
- Check also how to integrate pop-ups created in Landingi with GA4 and track conversions.
Create property and get your Google tag
1. Log in to your Google Analytics 4 account, go to Admin (1), click + Create (2), and select Property. It’s best to create a separate property for each URL (stream).

2. Name the property, complete the details, click Next and Create.
3. You’ll be asked to set up a data stream. Select Web.

4. Paste the URL of your landing page and name the stream (1). Leave the Enhanced measurement option enabled and click the gear icon (2).

5. Ensure that the Form interactions option is enabled. This will allow form submissions to be tracked by default in GA4. Remember to save your changes.

Then click Create stream.
6. You will see a message on your tag. Click View tag instructions.

7. Go to the Install manually tab and copy the tag.

8. You can find your global site tag in the Data collection and modification section. To view the details of your stream, go to Admin (1) and click on Data streams (2).

Do not close GA4.
Install the tag in Landingi
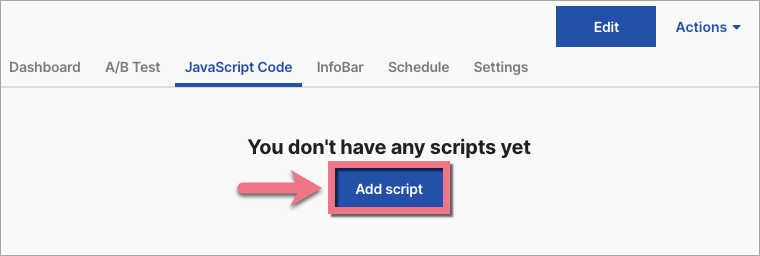
1. Log in to Landingi. Go to the Dashboard of your landing page, select JavaScript Code, and add a new script.
You can also access the Dashboard and the JavaScript Codes tab directly from the editor.

2. Name (1) the code and select the Head (2) position for Both (3) pages. Paste (4) the tag in the content field. Click Add script.

Go back to GA4.
Test the connection
1. To verify if the tag is correctly installed, click the Test button located beneath the window with the tracking code.
2. A green check indicates that the tag is functioning properly.

Reports
1. You will see the first data in GA4 right away in Reports > Realtime overview > Event count and Key events.

2. To mark an event as a key event, navigate to Reports > View user engagement & retention > Events. If needed, adjust the report’s start and end dates. Find your event under the chart and click on the three-dot icon next to it. Select Mark as key event.

3. Data in Reports snapshot will be updated within 24 hours.
4. In the Reports section, you can check the ID of the completed form. Click on the form_submit event name, then click on form_id (1) to view the ID of the form (2).

Browse all integrations in our Integrations Catalog to see tools you can connect Landingi with.